In order to use furl’s automation features with other applications, you’ll need to set up connections for them. A connection is basically a way to give furl the information and permission it needs to use other applications on your behalf. To see how this works, let’s build on the experience we created as part of this tutorial.
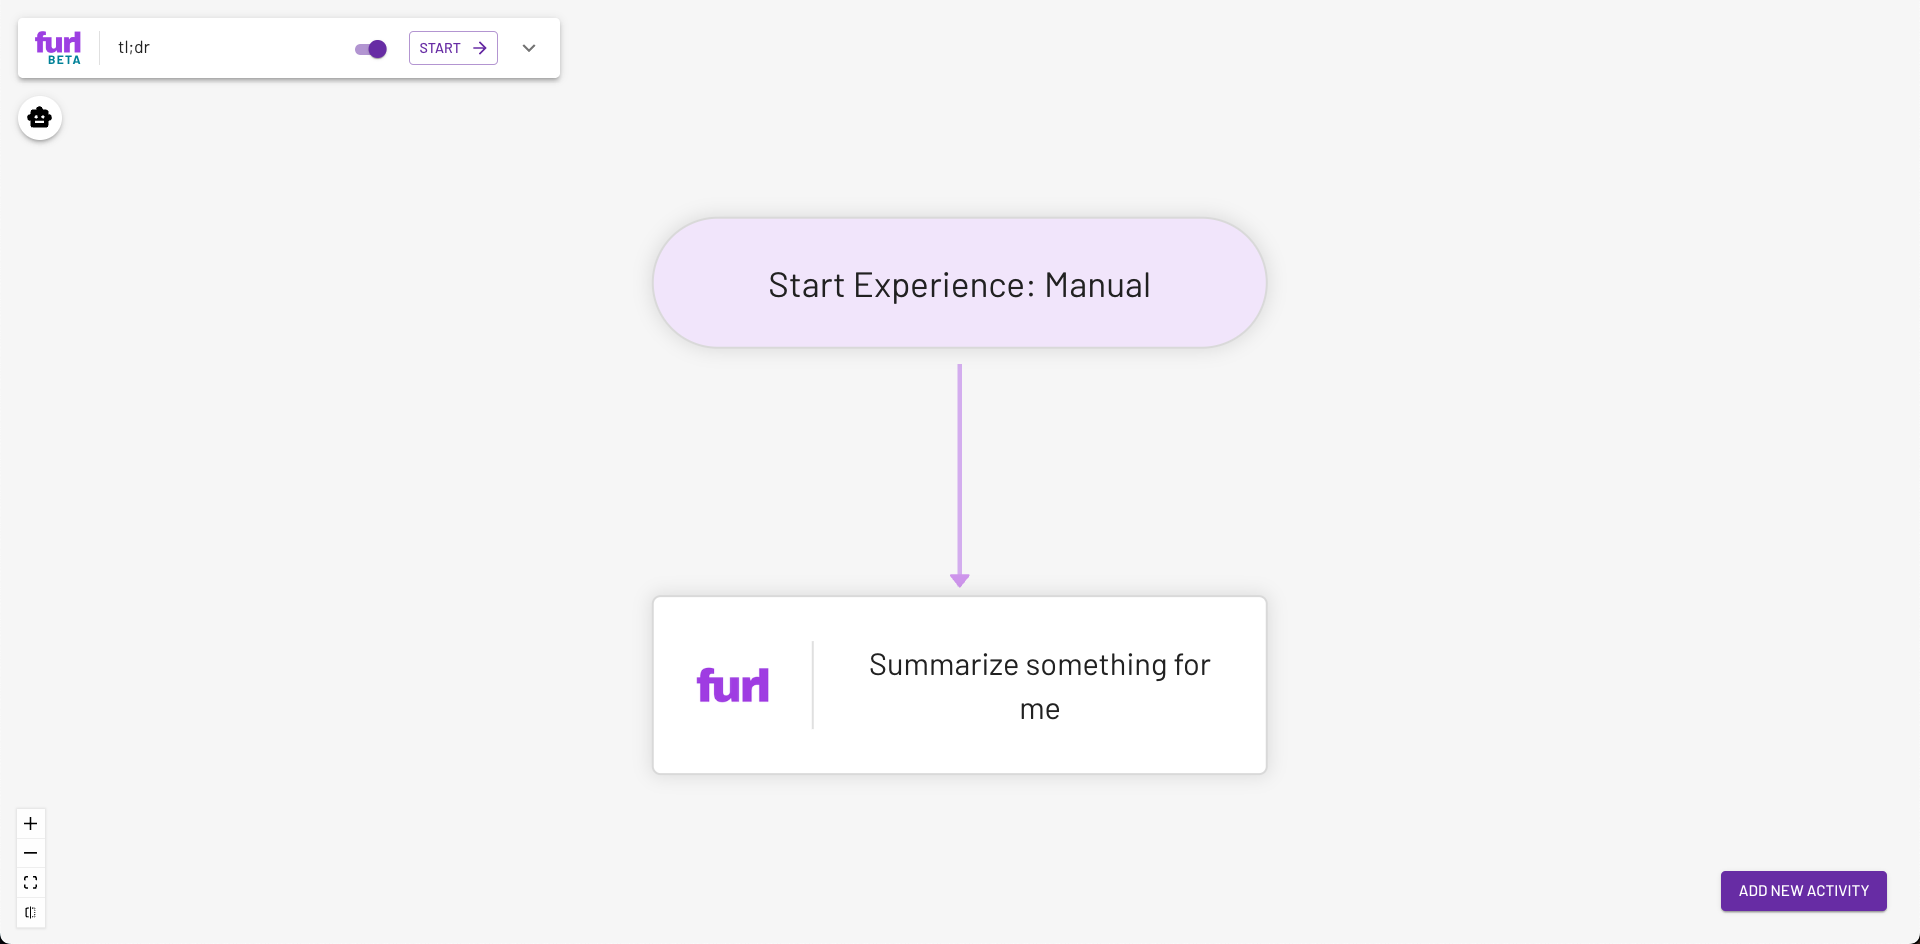
We’ll add a new activity to send an email whenever the summary is complete. When you hover over the bottom right corner of the activity, you’ll see 3 dots appear. Click on those dots to open the activity menu.
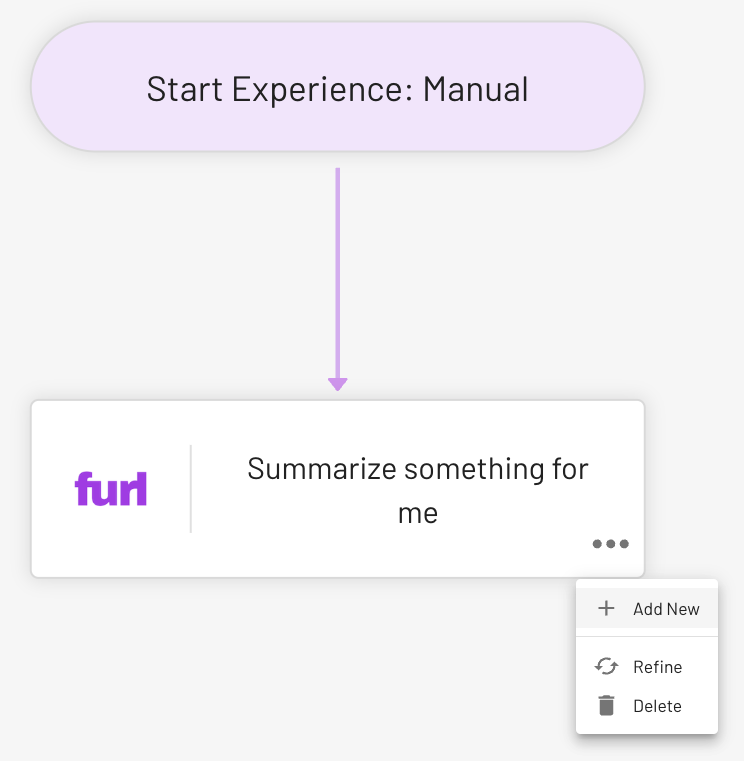
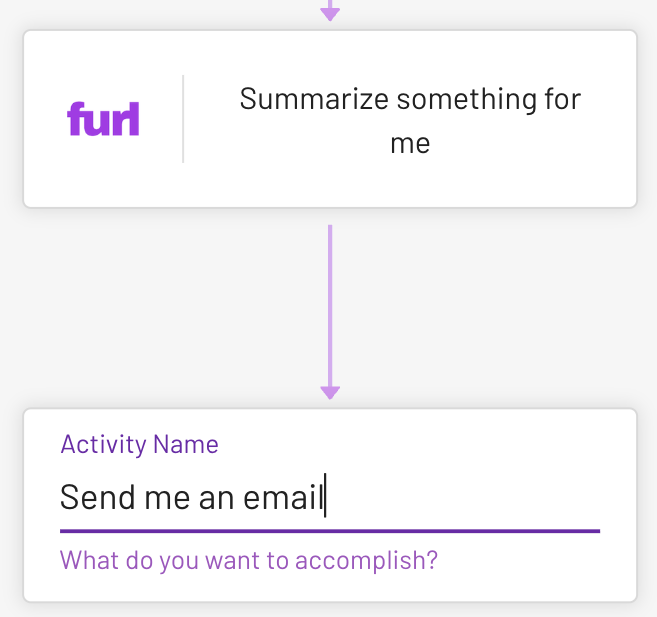
From there, click “Add New” and give your new activity a name like “Send an Email”.
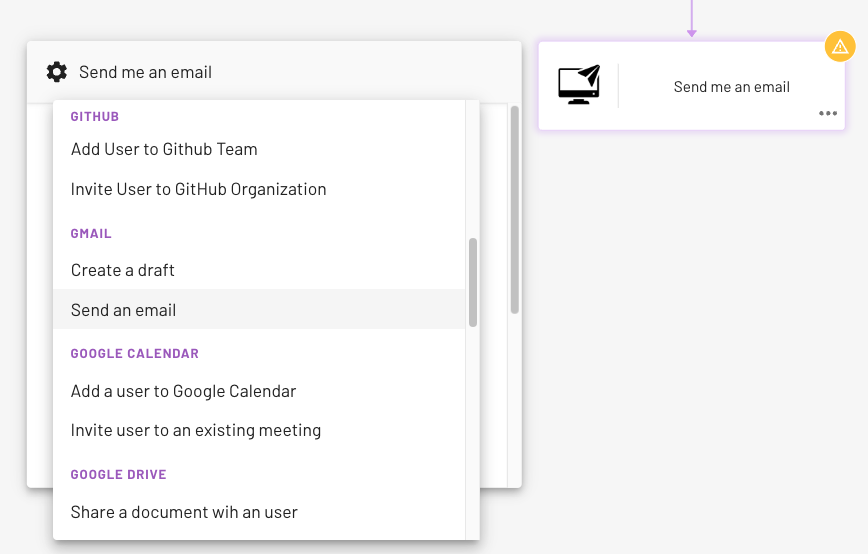
For this tutorial, we want to use Gmail to send the email message, so if furl didn’t automatically select Gmail, click the “Select an Action” dropdown on the configuration menu and choose “Send an email” under the Gmail header.
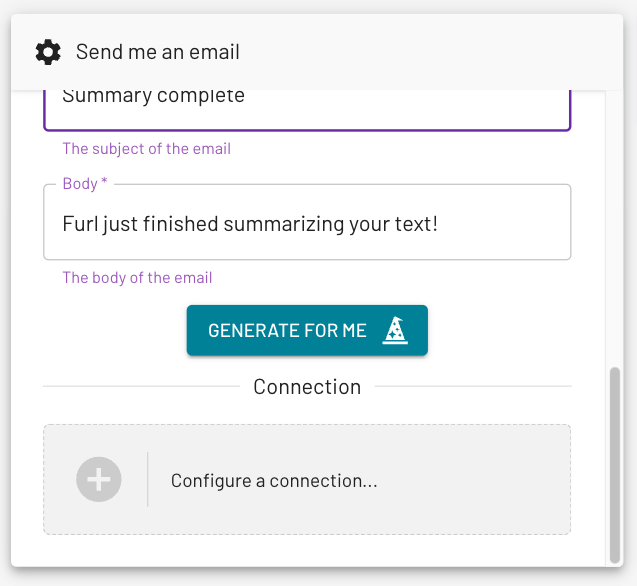
Once you’ve done that, go ahead and fill out the various fields to set up the email. You can put whatever you want in the subject and body, but for the “To” field, you’ll need to use your own email address so you can actually see the message when it is sent.
At the very bottom of the configuration menu, click “Configure a connection…”
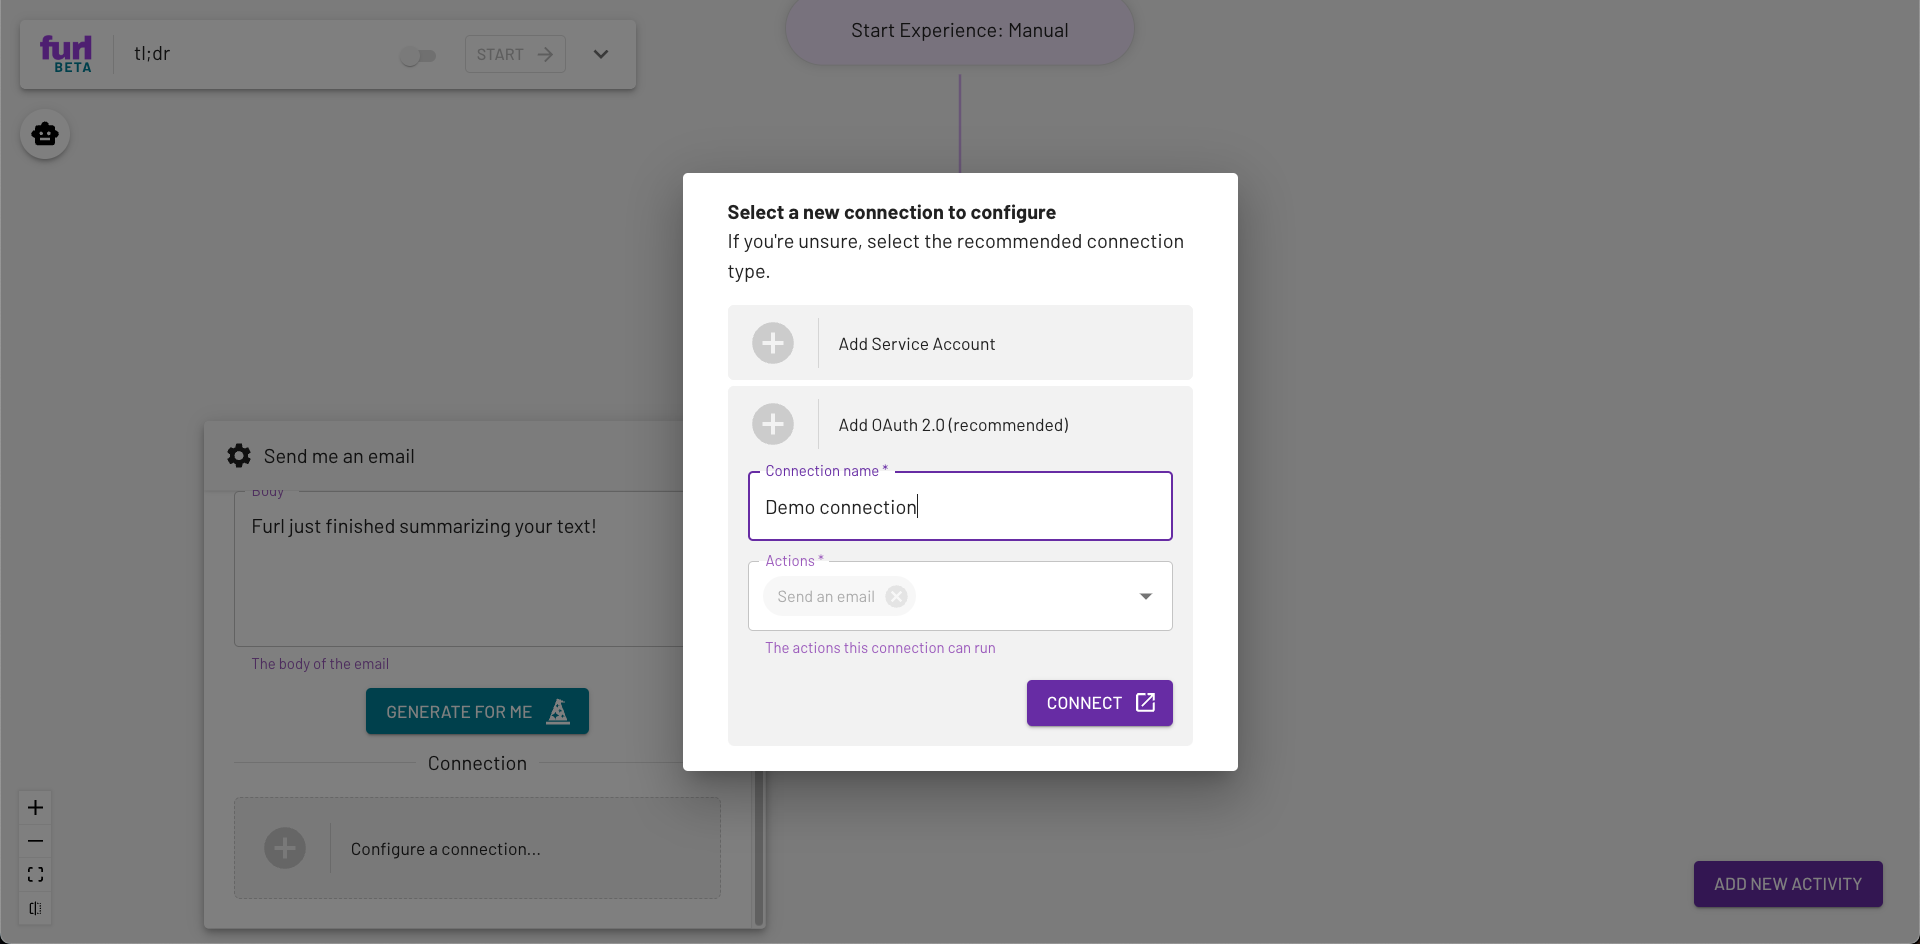
Then click “Add OAuth 2.0”, give the connection a name, and click “Connect”.
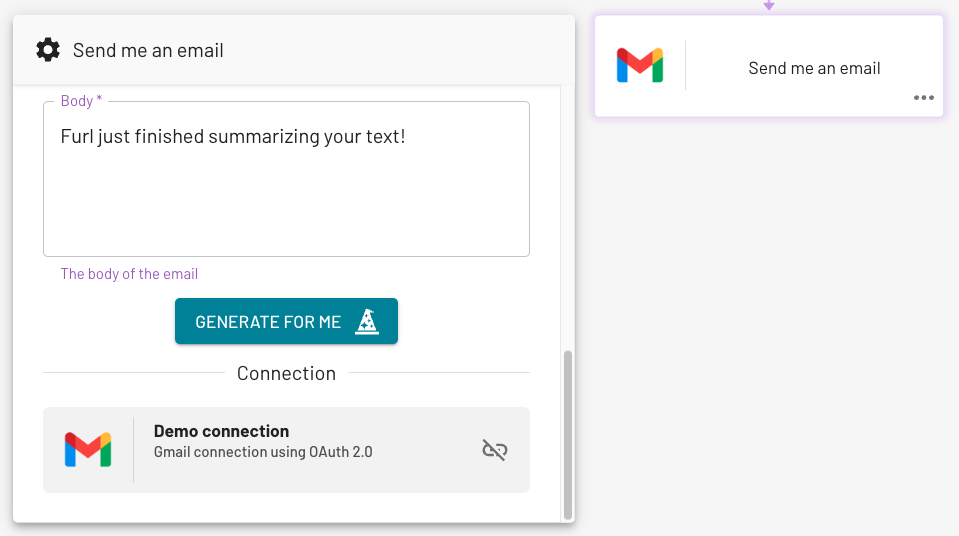
You’ll be taken to a Google login page. Go ahead and log in, then click “Allow” to give furl permission to send emails on your behalf. Now, when you look at the configuration menu, you’ll see that the connection has been added.
Make sure your experience is enabled and then go ahead and run it. As long as you set up the email activity with your own email address, furl will send you an email on your behalf once the experience reaches that step.